fbpx

Resolving iPhone 13 Pro Camera Problems

Table of Contents

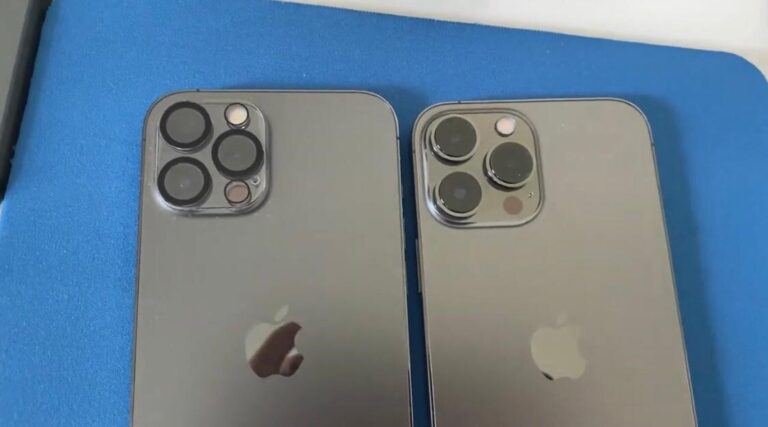
The iPhone 13 Pro boasts one of the most advanced camera systems, designed for capturing high-quality photos and videos. Its triple-lens setup includes an ultra-wide camera, a wide camera, and a telephoto camera, making it suitable for both everyday snapshots and professional photography.

However, if you’re experiencing issues with your iPhone 13 Pro camera, PhonoFix is here to help with all types of hardware or software problems. To tackle camera issues, follow these expert guidelines for the iPhone 13 Pro:
efqwdaw

Basic Troubleshooting Steps

  • Restart Your iPhone: Power down your iPhone 13 Pro and turn it back on.
  • Check for Software Updates: Navigate to Settings, then General, and select Software Update. If an update is available, install it; if not, proceed to the next step.
  • Clean the Camera Lens: Carefully wipe the front and back lenses of your iPhone 13 Pro with a soft cloth to remove any dust or smudges.
  • Remove Any Case or Screen Protector: Sometimes, cases or screen protectors can block the camera. Remove them and check if the issue persists.

Camera Settings and Features

  • Reset All Settings: Go to Settings, then General, followed by Reset, and select Reset All Settings. This won’t delete your data.
  • Check Camera Settings: Make sure your camera settings are correctly configured. Experiment with different camera modes.
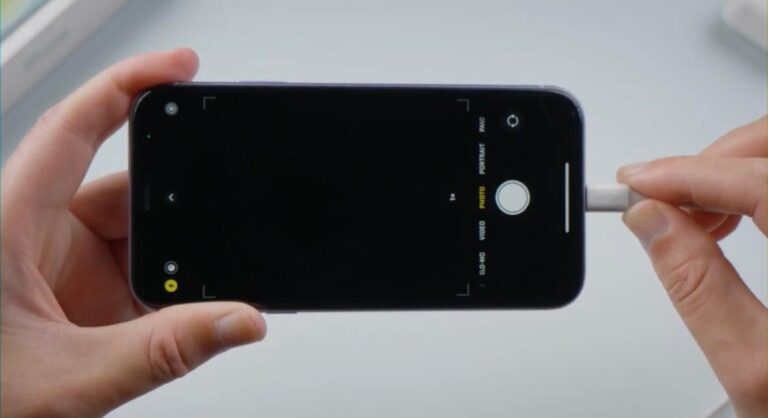
  • Close and Reopen the Camera App: Exit the camera app and open it again.
  • Disable Live Photos: Turn off Live Photos, as it can sometimes cause problems.

Advanced Troubleshooting

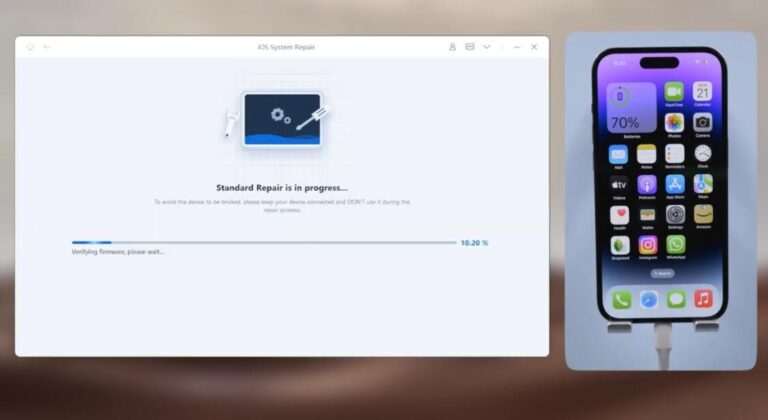
 1. Reset Your iPhone to Factory Settings:

See also  Struggling with iPhone 14 Back Glass Damage? Expert Repair Solutions Here

●      First, back up your data on your iPhone 13 Pro.

●      Navigate to Settings, then General, followed by Reset, and choose Erase All Content and Settings

●      Follow the prompts to reset your iPhone 13 Pro.

●      Set up your iPhone 13 Pro as new to see if the camera issue is resolved

2. DFU Mode Restore

A DFU restore reloads the software and firmware of your device.

●      Connect your iPhone 13 Pro to your computer or laptop and open iTunes.

●      Press and release the volume up button, then press and release the volume down button. Press and hold the side button until the screen turns black.

●       While holding the side button, also hold the volume down button for 5 seconds.

●      Release the side button but keep holding the volume down button.

●      iTunes/Finder will detect your phone.

●      Follow the on-screen instructions to restore your iPhone.

3. Hardware Issue

●      Book Your Appointment: Schedule an appointment at PhonoFix or visit us directly. We’ll prioritize resolving your issue.

●      Check Warranty: If your iPhone 13 Pro is still under warranty, it may be eligible for repair or replacement.
 

awsfaws

iPhone 13 Pro Camera vs iPhone 12 Pro Camera Features

  • The iPhone 13 Pro offers significantly better performance compared to the iPhone 12 Pro. With enhanced sensors and lenses, the wide camera on the iPhone 13 Pro features a larger sensor, resulting in superior quality.
  • The improved sensor on the iPhone 13 Pro captures more light, enhancing overall image quality. New features allow for customized photos by adjusting tone and warmth.
  • Macro Photography: The iPhone 13 Pro’s ultra-wide camera excels at capturing small objects, with a focus capability down to 2cm.
  • Cinematic Mode: This mode on the iPhone 13 Pro delivers results akin to professional movie cameras.
  • Improved Night Mode: Night mode is available on all cameras of the iPhone 13 Pro, unlike the iPhone 12 Pro.
  • ProRes Video: The iPhone 13 Pro supports high-quality video recording used by professionals, a feature not present in the iPhone 12 Pro.
See also  Your iPhone 11's battery may be draining rapidly. So, what can you do?
qwdqw

How to Repair and Install a New Camera on iPhone 13 Pro

Here are detailed steps and tips from PhonoFix professionals for installing a new camera in an iPhone 13 Pro:

  1. Prepare Your Workspace: Ensure you have a suitable workspace and all necessary tools, including a pentalobe screwdriver, Phillips screwdriver, suction cup, plastic opening tools, and tweezers.
  2. Power Off the iPhone: Turn off your iPhone 13 Pro to prevent any short circuits.
  3. Remove the Display: Unscrew the screws at the bottom, then use the suction cup to create a small gap. Carefully insert the plastic tool between the edges to separate the display.
  4. Disconnect the Battery: Remove the battery shield and disconnect the battery from the logic board.
  5. Disconnect the Display Cables: Disconnect all the cables attached to the display.
  6. Remove the Rear Camera: Use a plastic tool to disconnect and gently lift out the camera.
  7. Install the New Camera: Place the new camera in the original position, connect it to the logic board, and secure it with the camera shield.
  8. Reconnect All the Cables: Reattach all the previously removed cables and secure them with the shields, ensuring proper connections.

Conclusion

For expert solutions to iPhone 13 Pro camera issues, rely on PhonoFix. Our professional guidelines cover everything from basic troubleshooting to advanced fixes, ensuring your device continues to capture stunning photos and videos. Trust PhonoFix to handle any hardware or software problems and offer step-by-step assistance for camera repairs and installations.

Post Views: 78

Get a free quote